How to Remove People from Photos Without Photoshop
Use Auto People and manual mask tools to remove tourists, photobombers, and background people directly in your browser.
 MagicEraser Team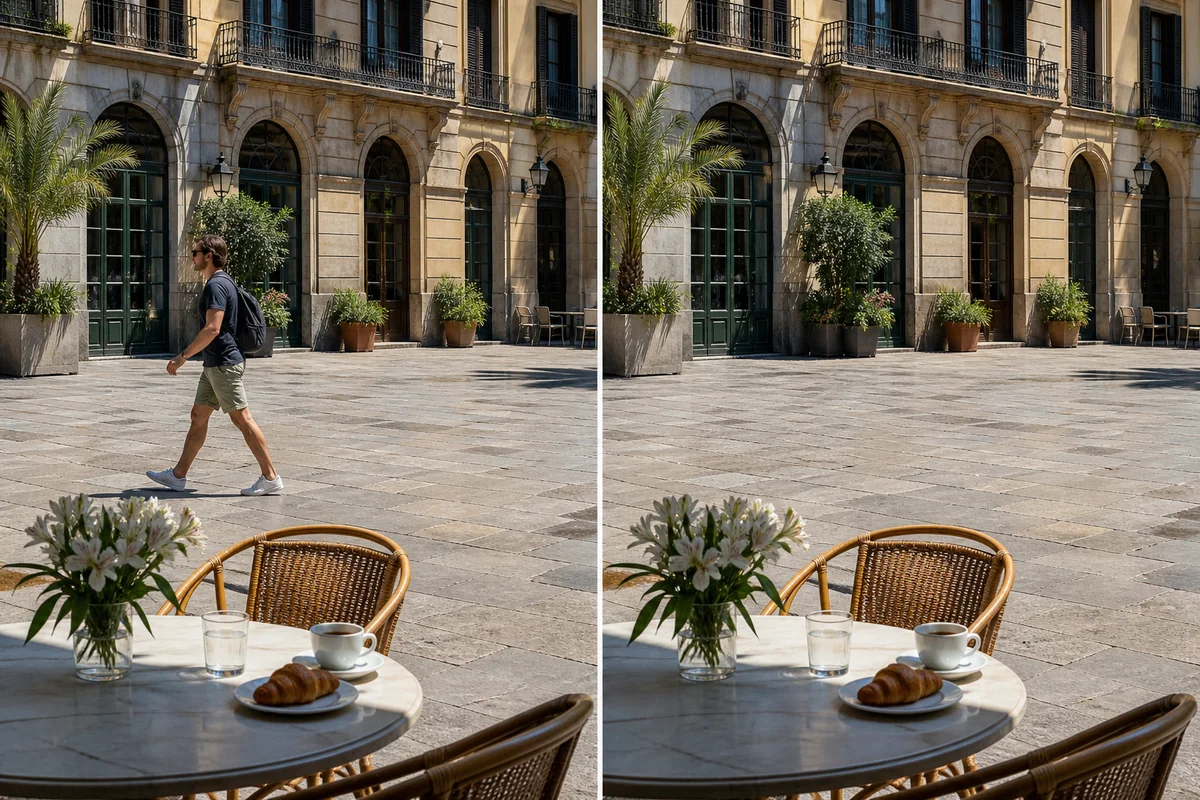
You do not need a desktop photo editor to clean a passerby or photobomber from a picture. The important work is choosing exactly who should disappear, preserving the main subject, and giving the AI enough surrounding scene to rebuild the empty area.
Open the People Remover to follow this workflow in your browser.
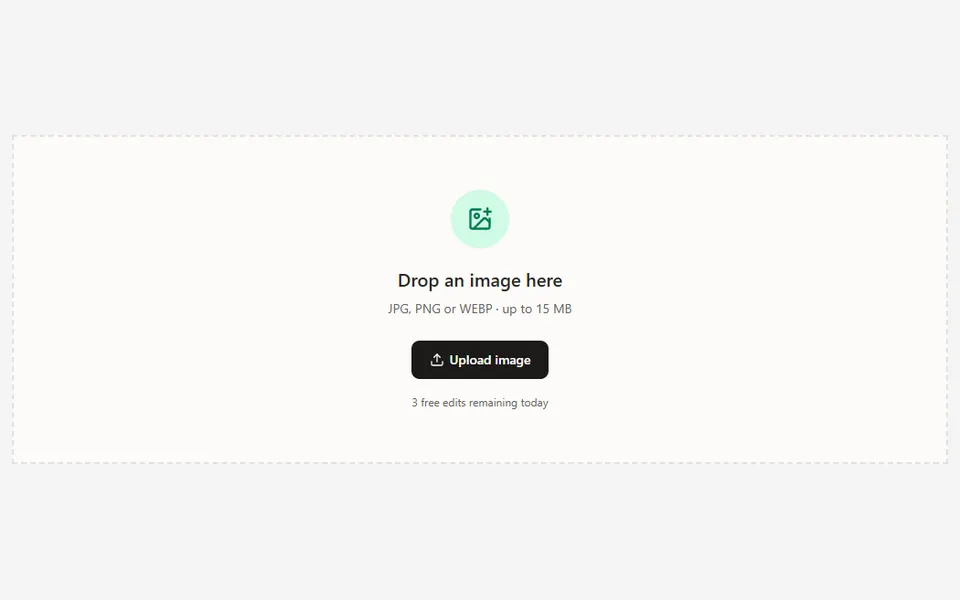
Start with the best available photo
Use the original JPG, PNG, or WEBP when possible. A clear image gives the editor better boundaries around hair, clothing, hands, and overlapping people. It also gives the AI more reliable pavement, wall, foliage, or sky to reference when reconstructing the background.
Avoid cropping tightly around the person before editing. Nearby background is useful context, especially when the person covers a repeating pattern or a long straight edge.
Choose people with Auto People
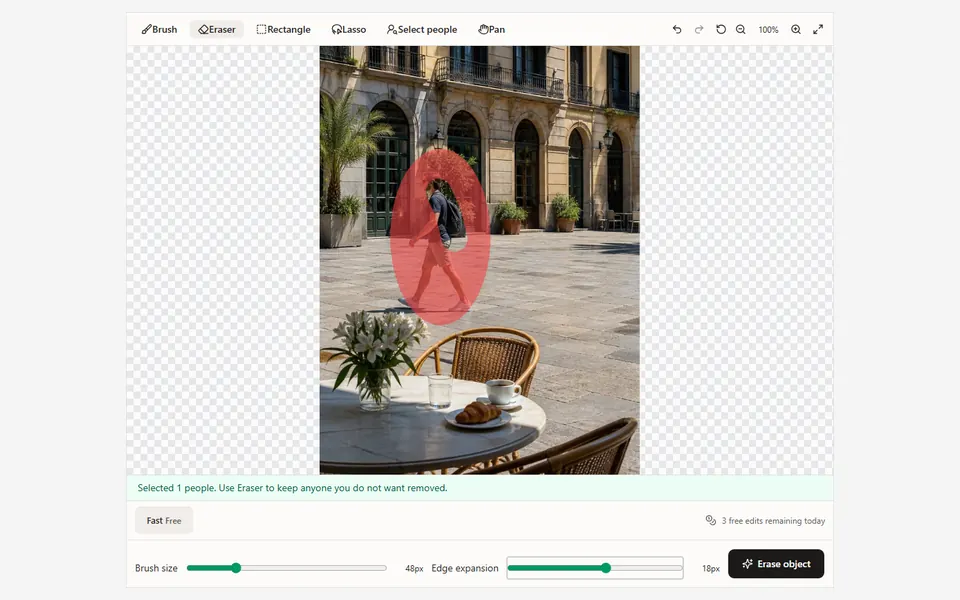
On the People Remover page, Auto People can create a first selection for visible people. It may select more than one person, so inspect the colored mask before starting the erase. Automatic detection is a starting point rather than a promise of a perfect boundary.
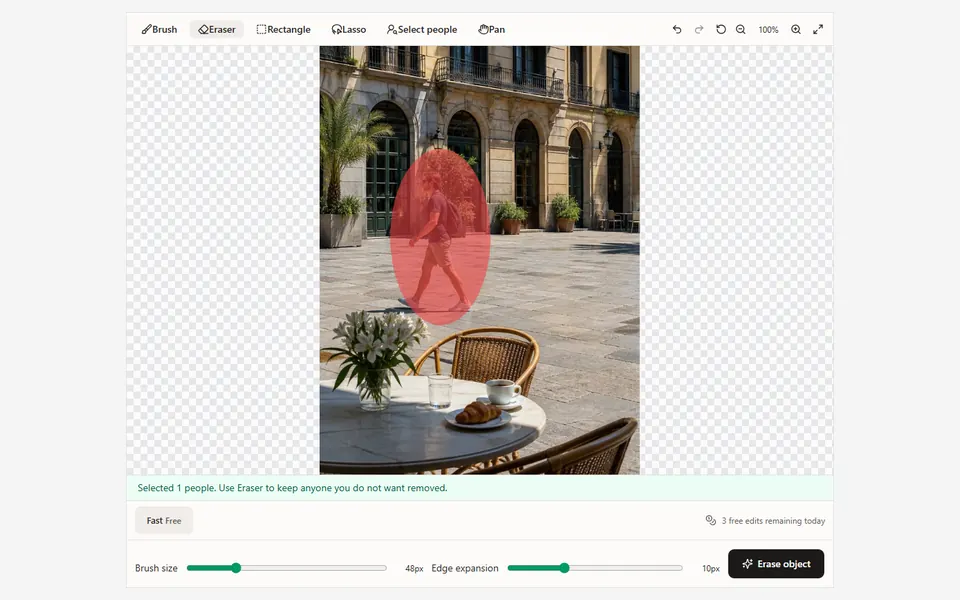
To keep the main subject, switch to Eraser and paint the mask away from that person. Check hair, loose clothing, bags, and areas where two people overlap. Use Brush to add a missed hand or leg, and Lasso to trace a larger partially hidden figure.
If automatic selection is unavailable or misses the scene, the same job can be completed entirely with the manual tools.
Include the right shadows and reflections
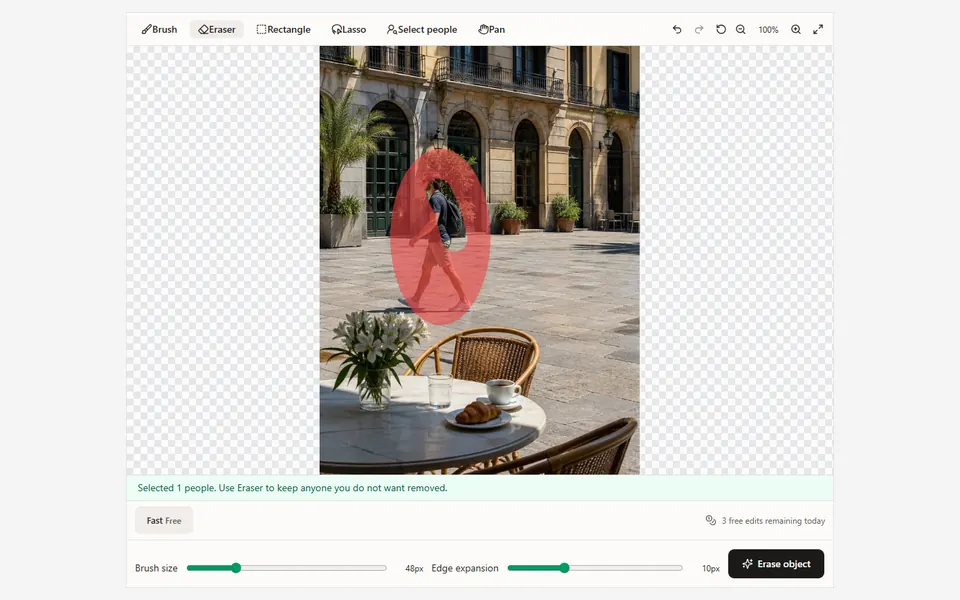
A person may affect more than the pixels inside their outline. Include a cast shadow or reflection when it clearly belongs to the person being removed. Leave unrelated shadows and reflections untouched so the result keeps the scene's original lighting.
For crowded photos, work in smaller passes. Removing one overlapping group at a time usually leaves more clean context around each selection than masking the entire crowd at once.
Refine the mask at high zoom
Zoom in around faces, fingers, hair, bicycle spokes, railings, and other narrow gaps. Undo and Redo let you compare mask changes without restarting. The Pan tool, mouse wheel, or touch gesture helps you move around the image while keeping selections in original image coordinates.
The Edge Expansion control extends the mask slightly beyond its visible border. The default is a useful starting point. Reduce it near a main subject or fine architecture; increase it cautiously if a halo from the removed person remains.
Process, compare, and make a second pass
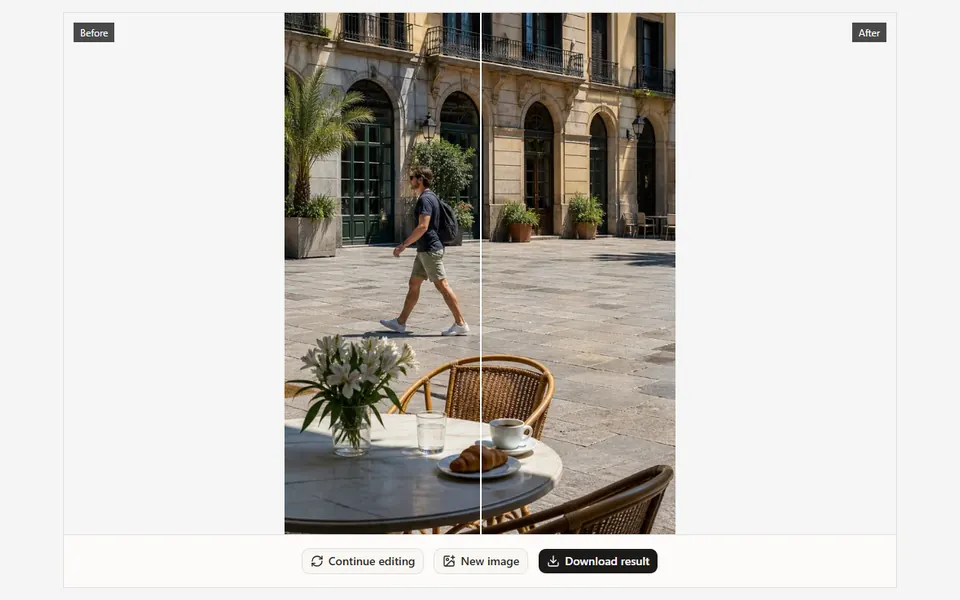
Run the erase and use the Before/After comparison to inspect the reconstructed area. Pay special attention to repeated paving, fence lines, faces, signs, and reflections. These details make small artifacts easier to notice.
When only a small defect remains, choose Continue editing. The result becomes a new editing base with an empty mask, while the earlier result remains unchanged. Select only the artifact and process that smaller area instead of rebuilding the entire scene again.
Signed-in users can revisit successful edits from History, but signing in is optional for the basic editor workflow.
Common reasons a people removal looks unnatural
- Part of a limb, shadow, or reflection was left outside the mask.
- The main subject was accidentally included in an automatic selection.
- One large mask covered several people and too much useful background.
- A very small or compressed source image did not contain enough recoverable detail.
- A straight edge or repeating texture was rebuilt in one oversized pass.
There is no single mask that fits every photo. Begin with Auto People when it helps, correct the result manually, and give difficult backgrounds one focused edit at a time.
For other distractions such as signs, cables, or furniture, use the Object Remover and choose Rectangle, Lasso, or Brush according to the object's shape.